Decoupaged Wooden Letter
We may earn money or products from the companies mentioned in this post.
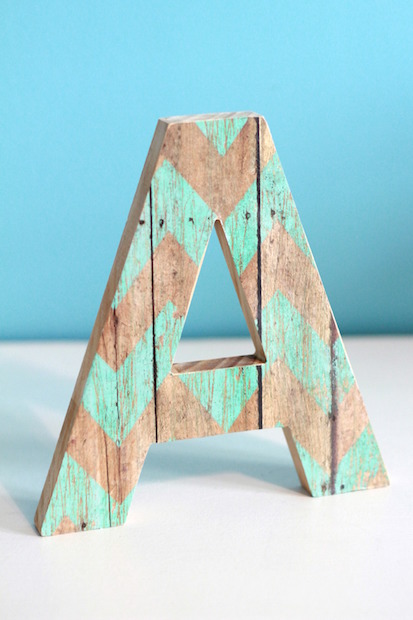
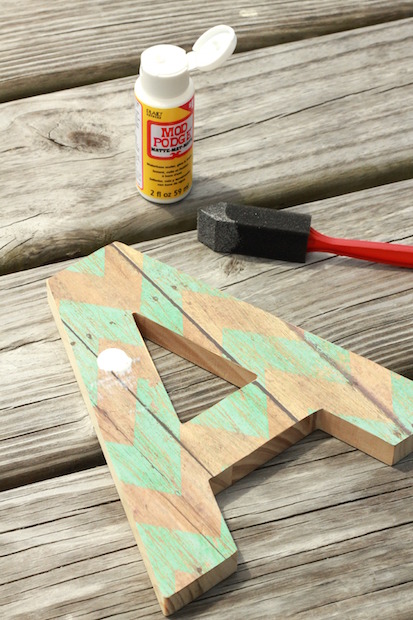
If you’ve walked through Target’s arts and crafts aisle I’m sure the plain wooden letters caught your eye like they did mine. There are so many fun possibilities with them, but once I spotted the small bottles of Mod Podge in the Dollar Spot I knew I couldn’t resist a quick decoupage project.
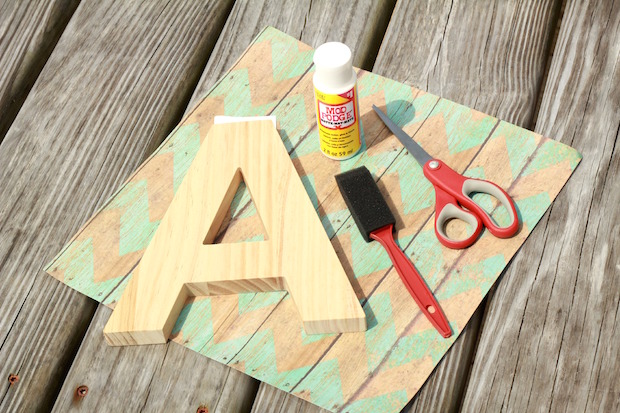
You’ll need:
- wooden letter
- Mod Podge
- scrapbook paper
- foam brush
- scissors
- pencil or marker
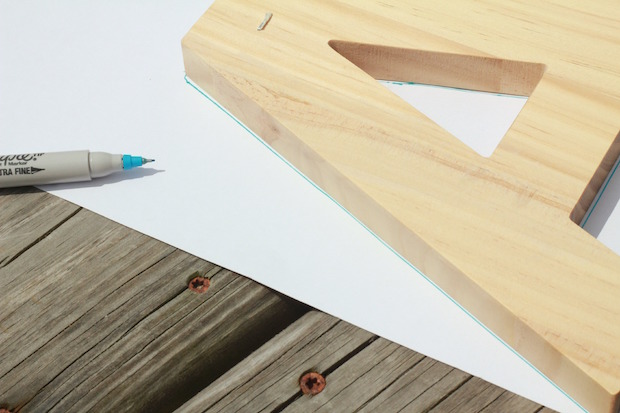
Flip your letter right side down on the back of the scrapbook paper. Gently trace around the letter and then cut the shape out.
Use the foam brush to apply a layer of Mod Podge to the front of the wooden letter. Place the letter cut from paper on top and smooth it down with your hand.
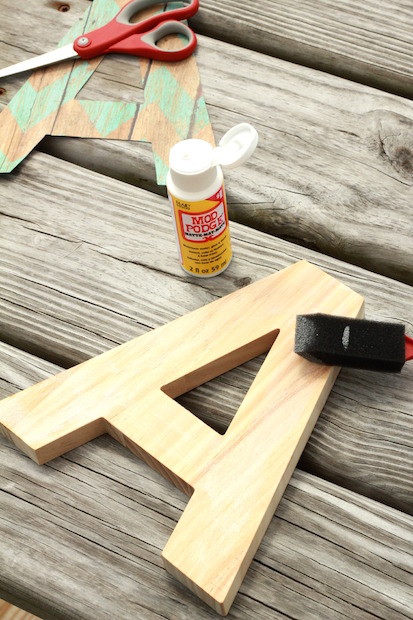
Add another layer of Mod Podge to the top and edges of your letter which helps to seal it. I chose matte Mod Podge, but if you want it to have some shine you’ll want to go with the glossy Mod Podge.
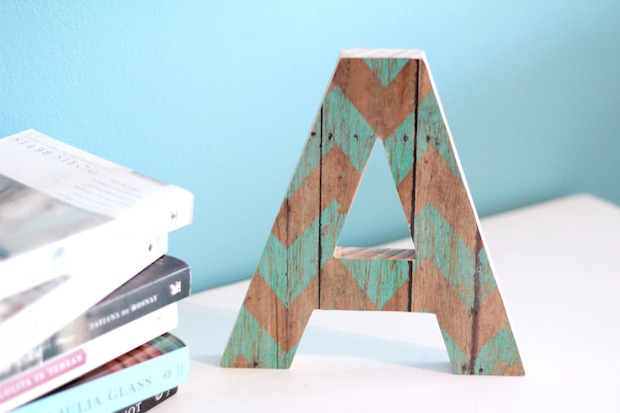
Let the Mod Podge dry completely and your letter is ready to display. Wouldn’t it be fun to combine a few letters together and place them on a bookshelf or even hang them on the wall?
Analisa is a mom and avid DIYer. Along with her family, she will travel anywhere just to say she’s been. She writes about creating, parenthood, and her family’s adventures at Parental Perspective. She’d love to meet you so feel free to visit her on Instagram or Facebook and say hello!